Introduction to Melt-in-Your-Mouth Cake
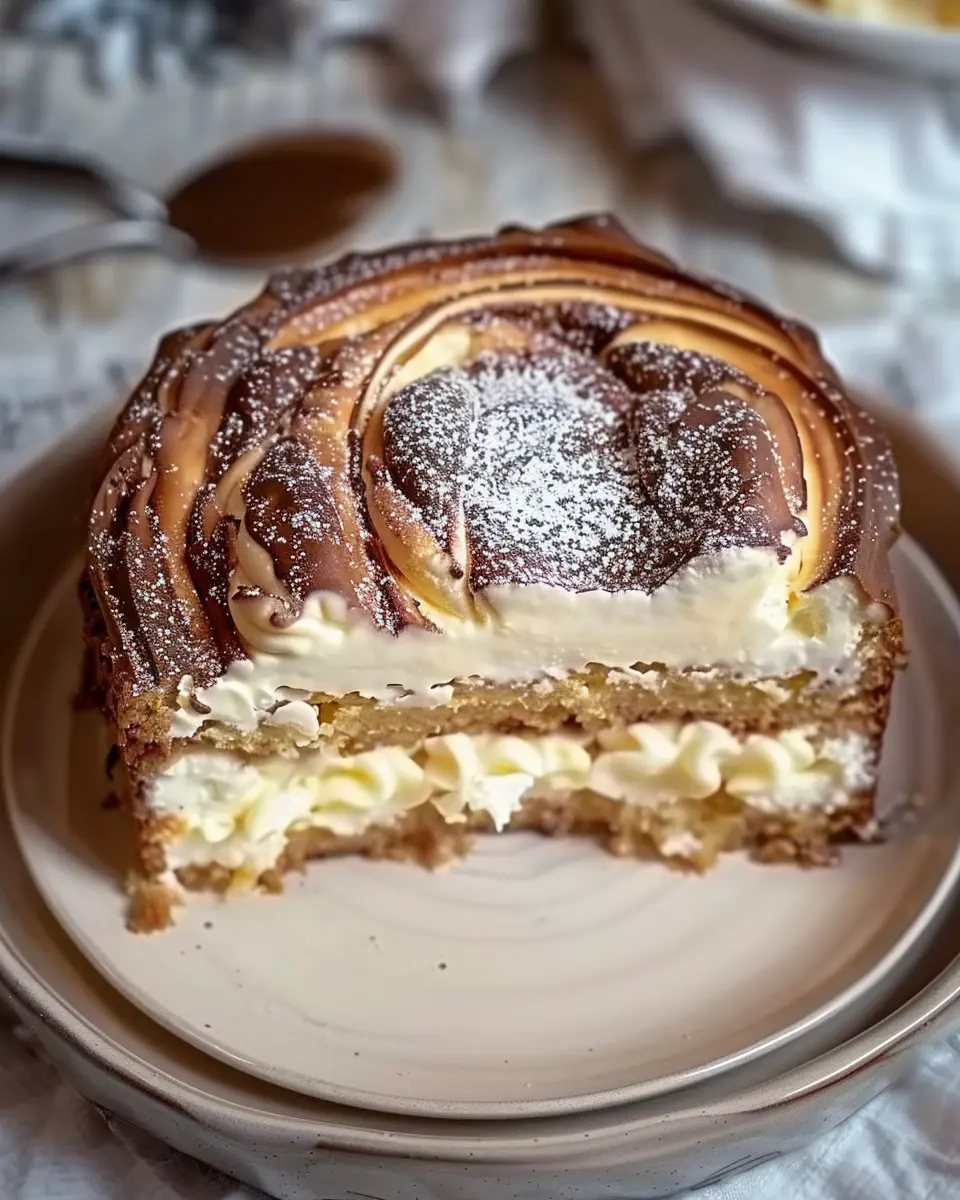
If you’re searching for a dessert that brings a delightful smile to your face after a long day at work, look no further than the melt-in-your-mouth cake. This cake is not just another sweet treat; it’s an experience. Designed for young professionals, this recipe blends simplicity with a touch of elegance, making it perfect for those bustling weeknights when you still crave something special.
Why This Cake is the Perfect Dessert for Young Professionals
Let’s face it: balancing work, social life, and personal interests can be pretty demanding. In the hustle and bustle, finding time to bake something elaborate feels impossible. That’s where the melt-in-your-mouth cake comes to the rescue! It’s quick to whip up and requires minimal ingredients, yet delivers maximum payoff. Imagine inviting friends over for a spontaneous gathering and having this delectable cake ready in no time.
Here’s what makes it a standout:
- Simplicity: With straightforward steps, even a kitchen novice can create this cake. You won’t need to navigate complex techniques or specialty equipment.
- Versatility: Whether you’re in the mood for a classic flavor or want to experiment with unique toppings like fresh fruit or whipped cream, this cake can be adapted easily to suit your taste.
- Impressive Results: The texture is so soft and buttery that it will leave your guests guessing how you achieved such professional results. They may think you’ve taken a class in pastry making!
Statistics show that baking can also boost your mood; the American Psychological Association points out that creating something enjoyable calms the mind and promotes happiness. So, why not indulge in a little baking to unwind after a hectic day?
If you’re short on time but still want to impress, this melt-in-your-mouth cake is your ticket to culinary success. Plus, it pairs beautifully with a cup of coffee or tea, making it an ideal addition to your next brunch. So grab your mixing bowls and get ready to savor the joy this cake brings!
Don’t forget to check out our other dessert recipes to keep your sweet tooth satisfied!
Ingredients for Melt-in-Your-Mouth Cake
Essential ingredients for the cake
Creating the perfect melt-in-your-mouth cake starts with quality ingredients. Here’s what you’ll need:
- Butter: The star ingredient that gives your cake that rich flavor.
- Sugar: Regular granulated sugar works wonders to sweeten things up.
- Eggs: Use large eggs to bind everything together and add moisture.
- All-purpose flour: This provides structure and a soft crumb.
- Baking powder: Essential for that lovely rise.
- Milk: Helps create a beautiful batter while keeping it moist.
- Vanilla extract: A splash of this ingredient elevates the flavor profile.
For a delightful twist, consider using alternatives like almond milk or coconut milk for added richness.
Optional toppings and variations
Once your melt-in-your-mouth cake is baked to perfection, the fun doesn’t stop there! Personalize it with:
- Frosting: Classic buttercream or cream cheese frosting are top picks.
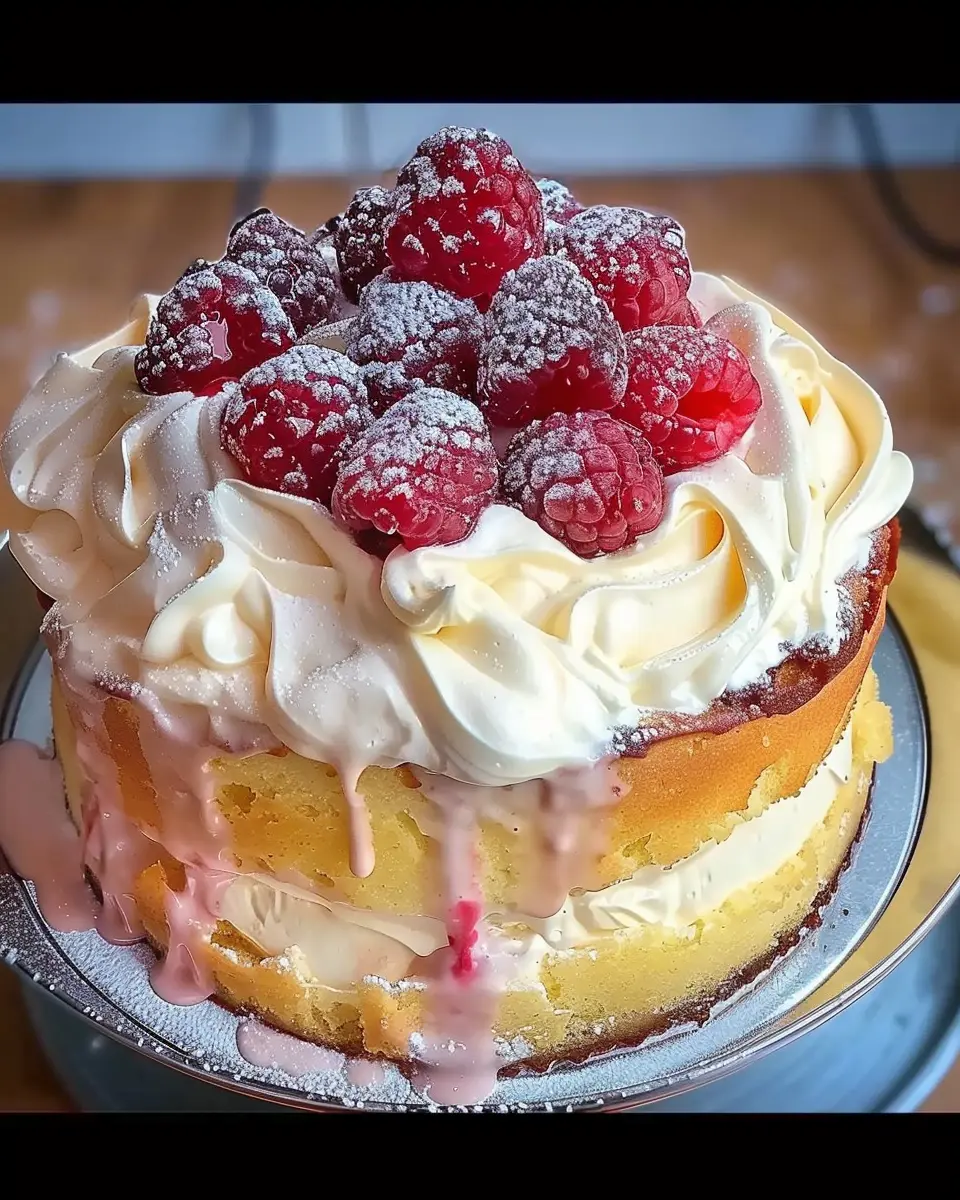
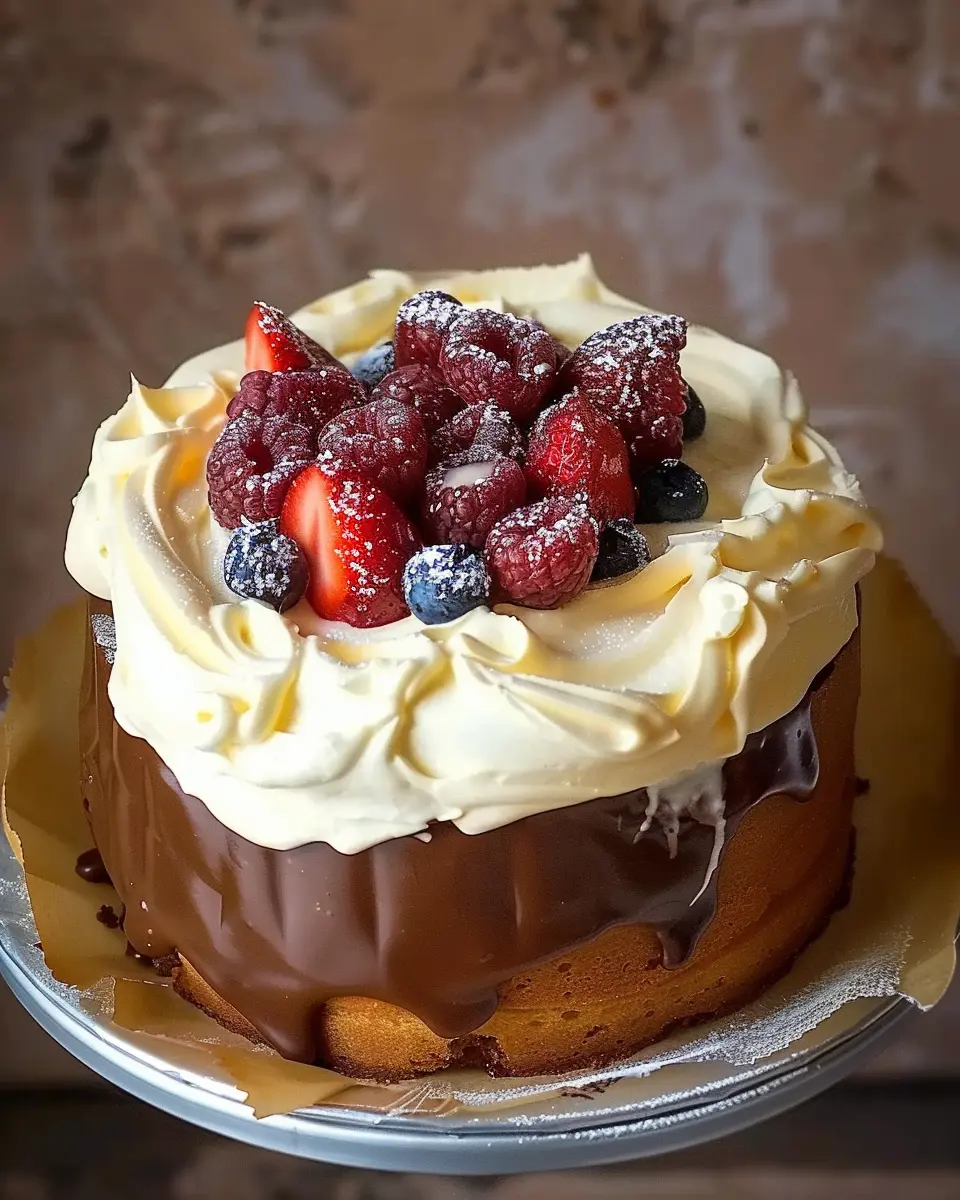
- Fruit toppings: Fresh berries or a citrus glaze can add a luscious freshness.
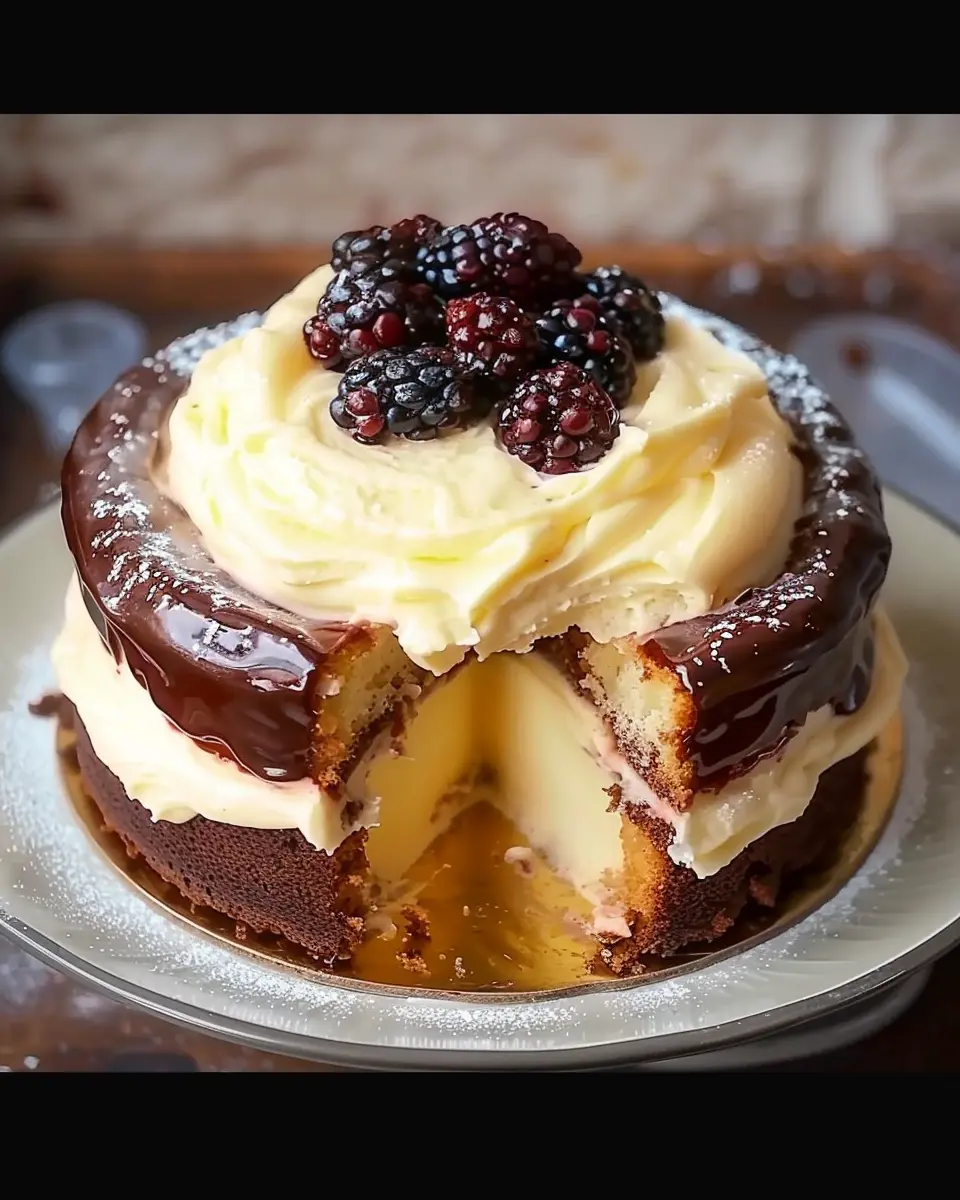
- Chocolate ganache: Drizzle this for an indulgent touch.
- Sprinkles: Colorful sprinkles can bring a playful spirit to your cake.
Feeling adventurous? Experiment with matcha or lemon zest in the batter for a unique flavor experience. Check out more about incorporating flavors at The Kitchn. Enjoy your baking!
Step-by-Step Preparation of Melt-in-Your-Mouth Cake
Creating a melt-in-your-mouth cake is an exciting culinary journey that yields an unforgettable dessert. Whether you’re baking for a special occasion or just indulging yourself, follow these detailed steps to ensure that your cake turns out perfectly every time.
Preparing the Dough
The first step in our cake-making adventure is preparing the dough. Start by gathering your ingredients:
- 2 cups all-purpose flour
- 1 cup unsalted butter, softened
- 1 ½ cups granulated sugar
- 4 tsp baking powder
- 1 tsp vanilla extract
- 1 cup milk
-
Mix Dry Ingredients: In a mixing bowl, whisk together the flour and baking powder. This step ensures that your cake rises perfectly and has a light texture.
-
Cream Butter and Sugar: In another bowl, beat together the softened butter and granulated sugar until fluffy. This is key to achieving that melt-in-your-mouth texture.
-
Combine: Gradually add the dry ingredients to the butter mixture, alternating with milk, and finish with the vanilla extract. Mix until just combined, being careful not to overmix. A few lumps are okay—this will help keep your cake tender.
Cooling the Dough and Adding Eggs
Once your dough is ready, let it cool slightly. This is important because hot dough can cook the eggs prematurely. Allow it to sit for about 15 minutes.
-
Incorporate Eggs: Add three large eggs, one at a time, mixing gently after each addition. The goal here is to keep the air incorporated for that delightful fluffiness.
-
Chill the Dough: Cover your bowl with plastic wrap and chill in the fridge for about 30 minutes. Chilling helps the flavors meld and improves the texture of your cake.
Baking the Layers
Now it’s time to transform that chilled dough into gorgeous cake layers.
-
Preheat Your Oven: Set your oven to 350°F (175°C) while the dough chills. This ensures it’s perfectly hot when you’re ready to bake.
-
Prepare Cake Pans: Grease and flour two 9-inch round cake pans. Make sure to get every corner; this will prevent your cake from sticking.
-
Pour and Bake: Divide the dough between the prepared pans and smooth the tops with a spatula. Bake for 25-30 minutes or until a toothpick inserted in the center comes out clean. Keep an eye on your cake—oven times can vary!
Making the Cream Filling
While the cake is baking, let’s whip up a luxurious cream filling that complements the melt-in-your-mouth cake perfectly.
- Gather Ingredients: You’ll need:
- 1 cup heavy cream
- ½ cup powdered sugar
- 1 tsp vanilla extract
- Whip the Cream: In a mixing bowl, use an electric mixer to beat the heavy cream until soft peaks form. Gradually add the powdered sugar and vanilla while continuing to beat until thick and fluffy. This will create that dreamy filling you crave!
Assembling the Cake
Once the cake layers have cooled completely, it’s assembly time.
-
Layer It Up: Place one cake layer on a serving plate. Spread a generous layer of cream filling on top, ensuring it reaches the edges for that luscious look. Carefully place the second layer on top.
-
Frost the Sides: You can reserve a bit of cream for the sides if you want a beautiful finish, or simply enjoy it as is!
Chilling the Cake
To enhance the flavor and make slicing easier, let your cake chill in the refrigerator for at least an hour.
-
Wrap and Chill: Cover the cake loosely with plastic wrap and let it set. This helps the cream filling meld with the cake layers, achieving that ultimate melt-in-your-mouth sensation you desire.
-
Ready to Serve: Once chilled, slice and serve! The rich texture and flavors will leave your guests (or yourself!) coming back for seconds.
Now that you have your melt-in-your-mouth cake ready, consider serving it with a side of fresh berries or a drizzle of chocolate glaze for an extra touch of delight. Enjoy your baking journey!
Variations on Melt-in-Your-Mouth Cake
When it comes to melt-in-your-mouth cake, there’s no end to the wonderful flavors and variations you can explore to suit your taste buds or dietary needs. Let’s dive into some delicious options!
Flavor Enhancements You Can Try
Why settle for the standard when you can jazz up your melt-in-your-mouth cake with exciting flavors? Here are some enhancements that can take your dessert to the next level:
- Citrus Zest: Adding lemon or orange zest can give your cake a refreshing zing that balances sweetness beautifully.
- Spices: A dash of cardamom or cinnamon can provide a warm, aromatic quality that surprises with every bite.
- Extracts: Try swapping vanilla extract for almond or coconut extract for a unique twist.
- Fillings: Consider layering your cake with fruit preserves, chocolate ganache, or a whipped cream filling for added texture and flavor.
Gluten-Free and Dairy-Free Alternatives
Catering to dietary restrictions doesn’t have to mean sacrificing taste. You can easily adapt your melt-in-your-mouth cake to be both gluten-free and dairy-free:
- Flour Substitutes: Gluten-free flours like almond or coconut flour can replace regular flour while maintaining the cake’s light texture. Be sure to consult an expert resource like King Arthur Baking for ratios and recommendations.
- Dairy-Free Options: Swap in coconut milk or almond milk for regular milk, and use vegan butter or applesauce instead of dairy butter. These substitutions can yield a rich consistency without the dairy.
Experimentation is key; don’t be afraid to tailor your cake to fit your preferences. What other variations have you tried? Share your experiences, and let’s bake some happiness together!
Cooking Tips and Notes for Melt-in-Your-Mouth Cake
Common pitfalls and how to avoid them
Creating the perfect melt-in-your-mouth cake can be a delightful challenge. One common pitfall is overmixing the batter, which can lead to a dense texture. Mix just until combined to keep it light and airy. Also, watch your oven temperature; using an oven thermometer can help ensure accuracy. Preheat your oven properly, and if you’re baking multiple cakes at once, keep an eye on the baking time, as it may vary.
Storage tips for your cake leftovers
To keep your melt-in-your-mouth cake fresh, store it in an airtight container at room temperature for up to three days. If you have leftovers beyond that, consider refrigerating them. For added freshness, you can wrap slices in plastic wrap before placing them in the fridge. For longer storage, freeze individual slices. Just make sure they’re well-wrapped; when you defrost, they’ll taste as good as fresh! If you’re unsure how to store your cake effectively, check out this helpful guide on cake storage techniques.
Serving Suggestions for Melt-in-Your-Mouth Cake
Best Drinks to Pair with Your Dessert
When you’re enjoying a lovely slice of melt-in-your-mouth cake, the right drink can elevate your experience. For a refreshingly sweet pairing, consider serving it with:
- Herbal Tea: A chamomile or hibiscus tea can enhance the flavors without overpowering them.
- Sparkling Water with Citrus: Add a twist of lemon or lime to fizzy water for a refreshing contrast to the cake’s sweetness.
- Milk or Plant-Based Milk: A classic glass of cold milk, or almond or oat milk, can create a deliciously creamy experience.
These drinks complement the cake perfectly, making each bite even more enjoyable.
Creative Serving Ideas for Gatherings
When hosting friends or family, present your melt-in-your-mouth cake in an inviting way. Here are a few creative ideas:
- Tiered Cake Stand: Arrange slices on a tiered stand for a stunning visual appeal.
- Mini Cakes: Bake individual portions in muffin tins. This makes serving easy and fun!
- Toppings Bar: Set out options like fresh fruit, whipped cream, or chocolate shavings, allowing guests to customize their dessert.
These suggestions can make sharing the cake a delightful experience, leaving everyone raving about your baking skills! Looking for more inspiration? Check out The Spruce Eats for serving ideas and tips!
Time Breakdown for Melt-in-Your-Mouth Cake
When preparing to bake your melt-in-your-mouth cake, it’s essential to be mindful of your time. Here’s a quick guide to help you plan your baking adventure.
Preparation Time
Set aside about 20 minutes for the prep work. This includes gathering ingredients, measuring, and mixing—everything you need for that divine cake batter!
Cooking Time
The cooking process will take approximately 30 to 35 minutes. Make sure to keep an eye on it while it’s baking to ensure it doesn’t overcook, as this can affect that deliciously melt-in-your-mouth texture.
Total Time
In total, you’ll want to budget around 1 hour for this delightful recipe. This includes both preparation and cooking time, providing you with a delicious cake that’s worth every minute spent.
For more tips and a detailed walkthrough, check out this baking guide that covers cake baking fundamentals!
Nutritional Facts for Melt-in-Your-Mouth Cake
Calories per serving
Each serving of this delightful melt-in-your-mouth cake contains approximately 320 calories. This makes it a satisfying indulgence without completely derailing your diet plans. Sharing it at gatherings can also help minimize the calorie impact on individual servings!
Key nutrients
This cake isn’t just a treat; it’s also packed with some valuable nutrients:
- Carbohydrates: Providing energy, essential for your busy lifestyle.
- Fats: The creamy texture comes from healthy fats, which are vital for your body.
- Protein: A surprising benefit, helping to keep you full and nourish your muscles.
When whipping up your melt-in-your-mouth cake, consider using whole ingredients, such as natural sweeteners or organic eggs, to boost its nutritional profile. This way, you can enjoy a delicious dessert that also aligns with your health goals. Curious about other cake options? Check out resources from Healthline for more insights on baking healthy treats!
FAQs About Melt-in-Your-Mouth Cake
How long does the cake last?
Your melt-in-your-mouth cake is sure to impress, but you might be wondering how long it can hold up in your kitchen. Properly stored in an airtight container at room temperature, it can last for about 3 to 4 days. If you’re thinking of enjoying it later, placing it in the refrigerator can extend its shelf life by a few days, up to a week. Just take care to let it return to room temperature for the best taste and texture.
Can I freeze melt-in-your-mouth cake?
Absolutely! Freezing your melt-in-your-mouth cake is a fantastic way to preserve its deliciousness for future cravings. Simply slice the cake into portions and wrap each slice tightly in plastic wrap, then place them in a freezer-safe bag or container. The cake can be stored this way for up to three months. When you’re ready to indulge, just let it thaw in the fridge overnight.
What is the best way to reheat the cake?
Reheating your melt-in-your-mouth cake can restore its soft, buttery feel. The easiest way is to use the microwave: simply place a slice on a microwave-safe plate and warm it for about 10-20 seconds. If you prefer a crispier edge, pop it in a preheated oven at 300°F (150°C) for about 5-10 minutes. This method enhances its flavor while keeping that melt-in-your-mouth texture intact.
For more tips on storing baked goods, check out resources like The Kitchn or Serious Eats for expert advice.
Conclusion on Melt-in-Your-Mouth Cake
The joy of homemade desserts
There’s something genuinely wonderful about a melt-in-your-mouth cake. After a long week, treating yourself to a slice of this delightful creation can brighten your day. Baking at home encourages creativity, not to mention, it’s a great way to unwind and connect with friends or family.
As you whip up this cake, sharing stories or laughs can make the experience even more special. Plus, homemade desserts are an excellent way to impress your guests—everyone appreciates the effort and love that goes into baking from scratch. Ready to indulge? Grab your ingredients and dive into the joy of baking!
For more enticing dessert ideas, check out Food Network or BBC Good Food.
PrintMelt-in-Your-Mouth Cake: The Best Indulgent Treat for Everyone
A deliciously rich and soft cake that melts in your mouth, perfect for any occasion.
- Prep Time: 20 minutes
- Cook Time: 30 minutes
- Total Time: 50 minutes
- Yield: 12 servings
- Category: Dessert
- Method: Baking
- Cuisine: American
- Diet: Vegetarian
Ingredients
- 2 cups all-purpose flour
- 1 ½ cups granulated sugar
- ½ cup unsalted butter, softened
- 1 cup buttermilk
- 3 large eggs
- 2 teaspoons vanilla extract
- 1 ½ teaspoons baking powder
- ½ teaspoon baking soda
- ¼ teaspoon salt
Instructions
- Preheat your oven to 350°F (175°C).
- Grease and flour two 9-inch round cake pans.
- In a large bowl, cream together the butter and sugar until light and fluffy.
- Add the eggs one at a time, mixing well after each addition.
- Stir in the vanilla extract.
- In another bowl, whisk together the flour, baking powder, baking soda, and salt.
- Gradually add the dry ingredients to the creamed mixture, alternating with buttermilk, beginning and ending with the flour mixture.
- Divide the batter evenly between the prepared pans.
- Bake for 25-30 minutes, or until a toothpick inserted in the center comes out clean.
- Allow to cool in the pans for 10 minutes, then turn out onto wire racks to cool completely.
Notes
- This cake can be dressed up with frosting or served plain with a dusting of powdered sugar.
- For extra flavor, consider adding lemon or almond extract.
Nutrition
- Serving Size: 1 slice
- Calories: 350
- Sugar: 20g
- Sodium: 200mg
- Fat: 15g
- Saturated Fat: 9g
- Unsaturated Fat: 4g
- Trans Fat: 0g
- Carbohydrates: 50g
- Fiber: 1g
- Protein: 5g
- Cholesterol: 100mg