Introduction to Halloween Crinkle Cookies
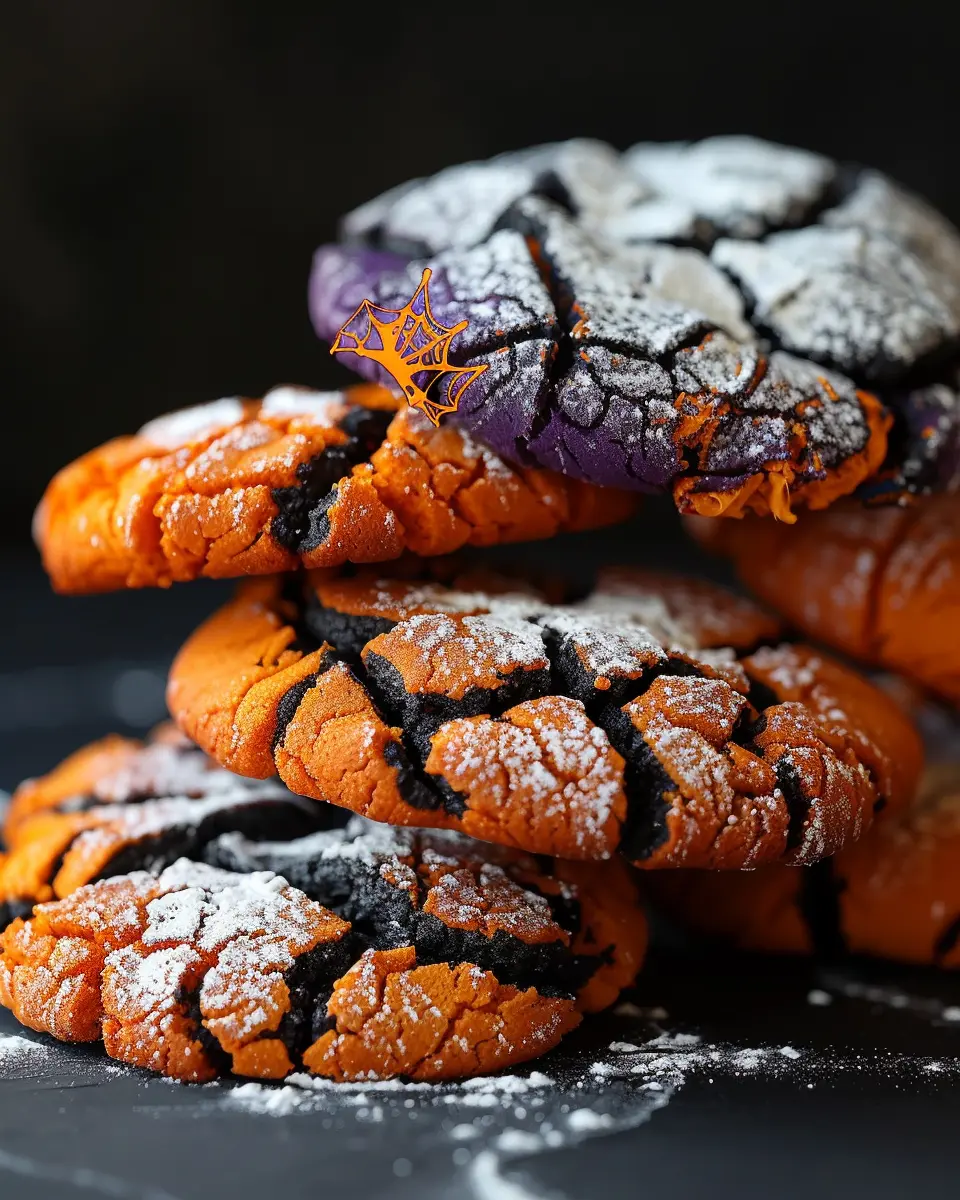
As the leaves turn golden and the air grows crisp, it’s the perfect time to embrace the spirit of fall with a festive baking session. This Halloween, why not delight your family and friends with something special? Halloween Crinkle Cookies are not just any ordinary treat; they are soft, chewy, and offer a delightful burst of flavor wrapped in a beautiful, cracked exterior. These cookies aren’t only a visual treat; they are an experience that captures the essence of the season!
Why Halloween Crinkle Cookies Are a Must-Bake This Season
There’s something magical about baking during the Halloween season. The excitement of trick-or-treaters and the joy of gathering with loved ones makes it an ideal backdrop for whipping up festive goodies. Halloween crinkle cookies take the stage as they bring color, fun, and flavors that resonate with the spooky vibes of October.
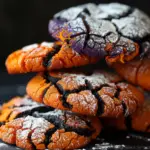
Imagine presenting a platter of these cookies, their powdered sugar dusting resembling fresh snow atop a pumpkin! The beauty of crinkle cookies lies in their versatility. You can infuse them with classic fall flavors such as chocolate and pumpkin spice or even add a hint of orange zest for a citrusy twist. Whether you’re hosting a Halloween party or looking for a cozy night in, these cookies are guaranteed to elevate your season.
Plus, baking is known to reduce stress and promote relaxation. According to a study by the American Psychological Association, engaging in creative activities like cooking can boost your mood and overall well-being. So, why not channel your inner chef and whip up a batch? It’s a delightful way to unwind after a long week, or you can even make it a fun activity with your friends.
These delectably crisp yet soft treats are sure to impress, whether you’re sharing them around a bonfire or packing them up as Halloween gifts. With the perfect combination of aesthetically pleasing looks and mouthwatering taste, Halloween crinkle cookies will undeniably be a highlight of your holiday celebrations!
If you’re ready to dive into this festive baking adventure, stay tuned for the full recipe and tips that will guide you through every crumbly step!
Ingredients for Halloween Crinkle Cookies
Essential ingredients for delicious crinkle cookies
Creating Halloween crinkle cookies is all about the right mix of ingredients. Here’s what you’ll need:
- All-Purpose Flour: The backbone of your dough, providing structure.
- Granulated Sugar: Sweetness is key in making your cookies delightful.
- Cocoa Powder: For that rich chocolate flavor that pairs perfectly with the holiday spirit.
- Baking Powder & Baking Soda: Essential leavening agents to create that beautiful crinkle.
- Eggs: They bind everything together and add moisture.
- Butter: Using unsalted butter imparts flavor and contributes to the chewy texture.
- Powdered Sugar: For dusting, creating that signature crinkle effect.
These ingredients come together to create a soft, chewy, and crackled exterior that will have your guests coming back for seconds.
Optional ingredients for enhancing flavor and presentation
If you want to take your Halloween crinkle cookies to the next level, consider these optional ingredients:
- Vanilla Extract: Adds a warm, comforting flavor.
- Chocolate Chips or White Chocolate Chips: For added texture and richness.
- Sprinkles: Cute and festive, perfect for Halloween-themed fun.
- Mint Extract or Espresso Powder: Just a hint can provide a surprising depth of flavor.
Whether you stick to the basics or experiment with optional ingredients, your delicious treats are sure to impress friends and family! For more baking tips, check out King Arthur Baking for expert advice and inspiration.
Step-by-Step Preparation of Halloween Crinkle Cookies
Making Halloween Crinkle Cookies is a fun and festive way to celebrate the spooky season! With their rich chocolate flavor and delightful cracked appearance, these cookies are sure to impress friends and family. Let’s dive into the preparation process to ensure you create these delightful treats flawlessly.
Gather Your Ingredients
First things first—let’s make sure you have everything on hand. Here’s what you’ll need:
- 1 cup all-purpose flour
- 1 cup unsweetened cocoa powder
- 1 tsp baking powder
- ½ tsp baking soda
- ½ tsp salt
- 1 cup granulated sugar
- ½ cup brown sugar
- ½ cup vegetable oil (you can also try coconut oil for a twist)
- 2 large eggs
- 1 tsp vanilla extract
- Powdered sugar (for coating)
Having your ingredients ready not only streamlines the process but also enhances your baking experience. Trust me, when the mood strikes, you don’t want to go hunting for that missing bag of flour!
Mix the Dry Ingredients
In a medium bowl, whisk together your dry ingredients: flour, cocoa powder, baking powder, baking soda, and salt. Be sure to mix them thoroughly to avoid any lumps. This step is essential as it helps to evenly distribute the leavening agents. Plus, the cocoa powder will give your cookies that deep, rich chocolate color we’re after.
Prepare the Wet Ingredients
In another bowl, combine your granulated sugar, brown sugar, and vegetable oil. Mix these ingredients until they’re well blended. Then, add the eggs one at a time, ensuring they’re fully incorporated before adding the next. Finally, stir in the vanilla extract.
Did you know that using room temperature eggs can lead to a fluffier texture? Plus, it makes mixing much easier.
Combine Everything Together
Now it’s time for the magic to happen! Gradually add your dry ingredients to the wet mixture, stirring until just combined. Be careful not to overmix, as this can make your cookies tough. The dough should be somewhat thick and sticky, and it’s okay if a few dry bits remain. Patience here pays off!
Chill the Dough for Perfect Cracks
This is a critical step that many bakers overlook. Cover your mixing bowl with plastic wrap and refrigerate the dough for at least 30 minutes to an hour. Chilling the dough helps develop the flavors and creates the perfect texture for those signature crinkles.
Shape and Coat the Cookies
Once chilled, preheat your oven to 350°F (175°C) and line a baking sheet with parchment paper. Now, it’s time to shape the cookies! Scoop out tablespoons of dough and roll them into balls. Then, generously coat each ball in powdered sugar. This step not only adds sweetness but creates that eye-catching crackled effect when baked.
Bake the Crinkle Cookies
Place the cookie dough balls onto the prepared baking sheet, making sure to leave enough space between them (about 2 inches apart works best). Bake for about 10-12 minutes, or until you see those beautiful cracks forming. Keep an eye on them—overbaking can lead to dry cookies!
Cool and Prepare for Serving
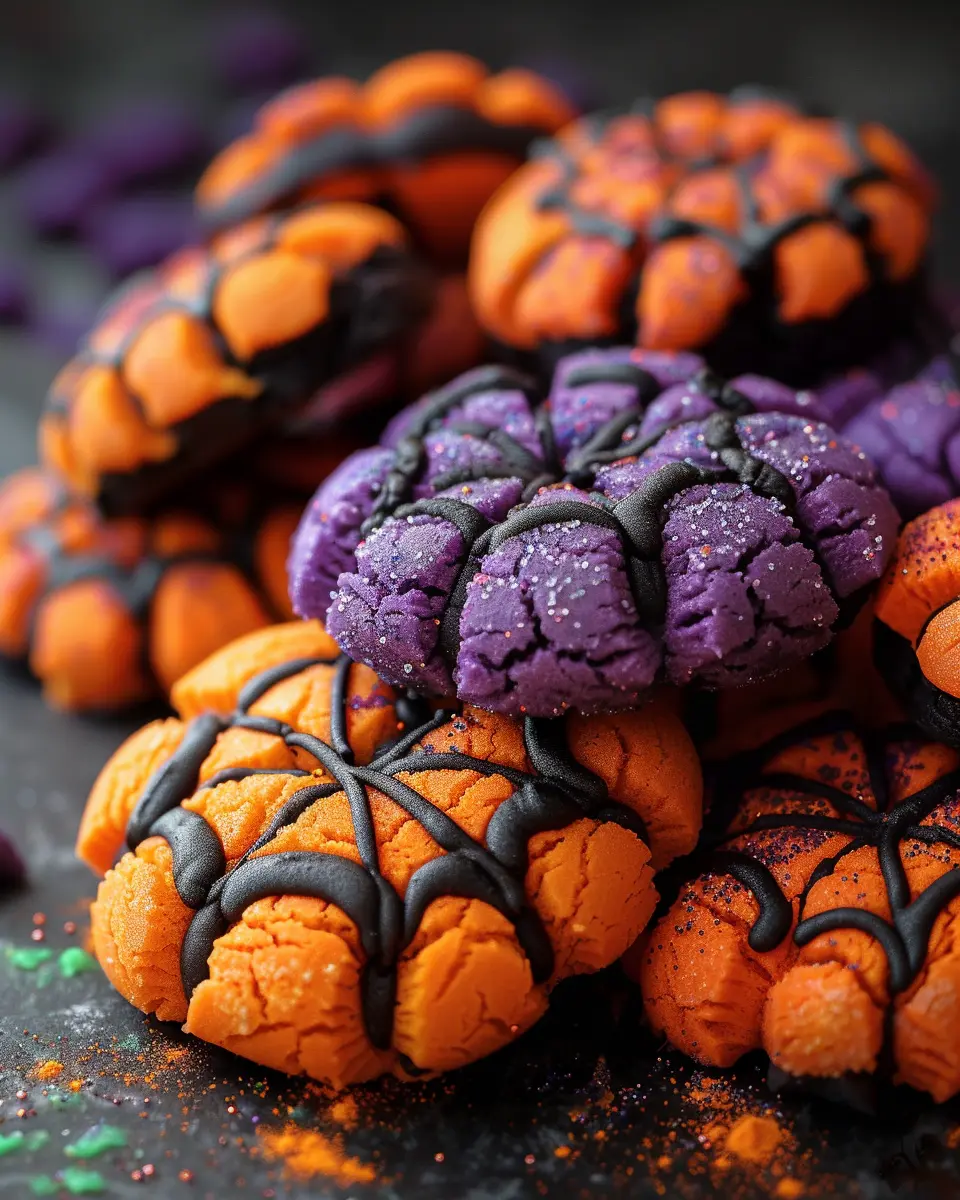
Once baked, remove the cookies from the oven and let them cool on the baking sheet for about 5 minutes, then transfer them to a wire rack to cool completely. This is the moment you have been waiting for! The Halloween Crinkle Cookies can be served as is, or decorated further for a spooky touch with colorful icing or sprinkles.
Now that you’re equipped with this step-by-step guide, you’re all set to whip up a batch of these delightful cookies. Share them with friends, or indulge yourself—after all, it’s Halloween season! Enjoy the experience, and don’t forget to snap a picture when you do. Who knows, you might even inspire others to join in on the festive fun!
Variations on Halloween Crinkle Cookies
Multicolored Crinkle Cookies
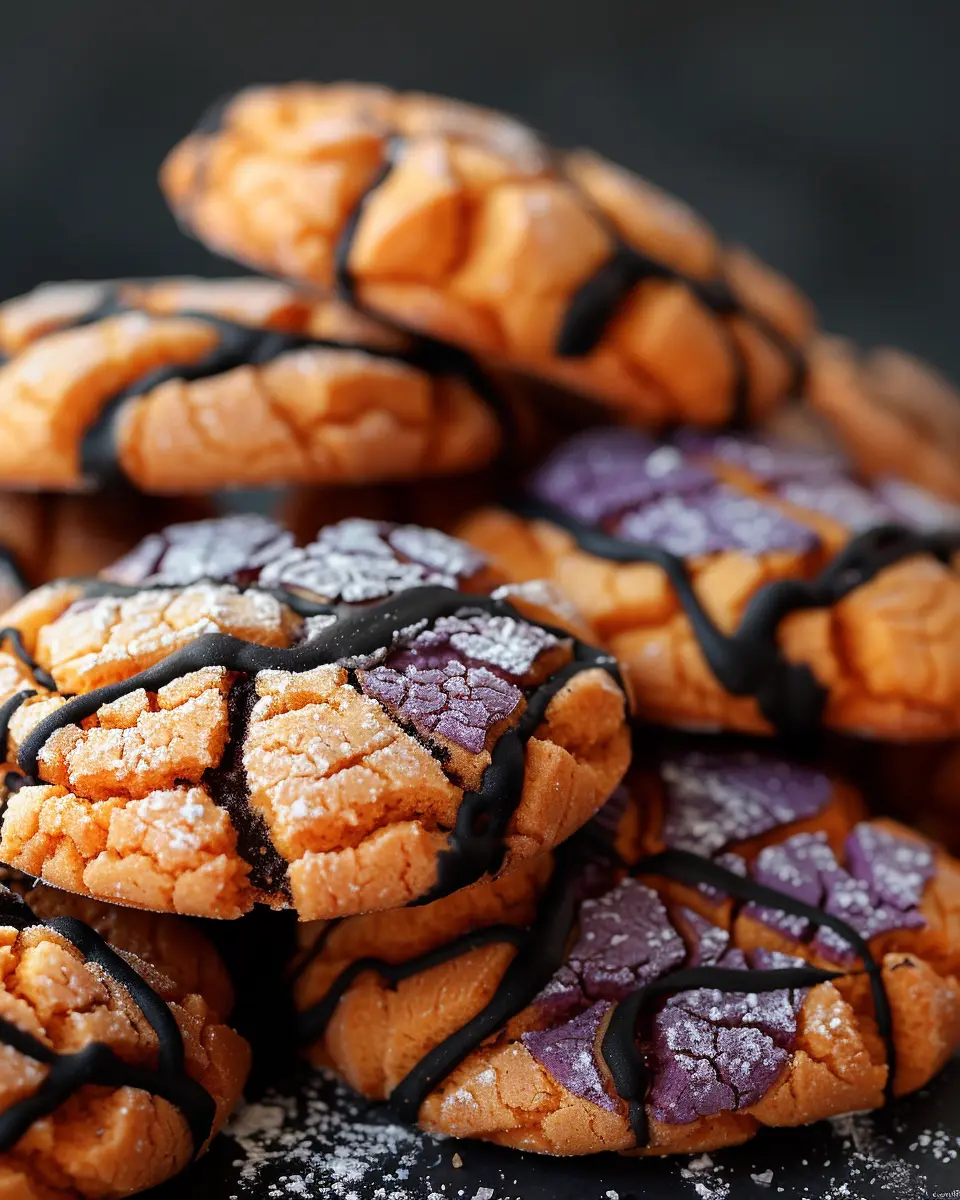
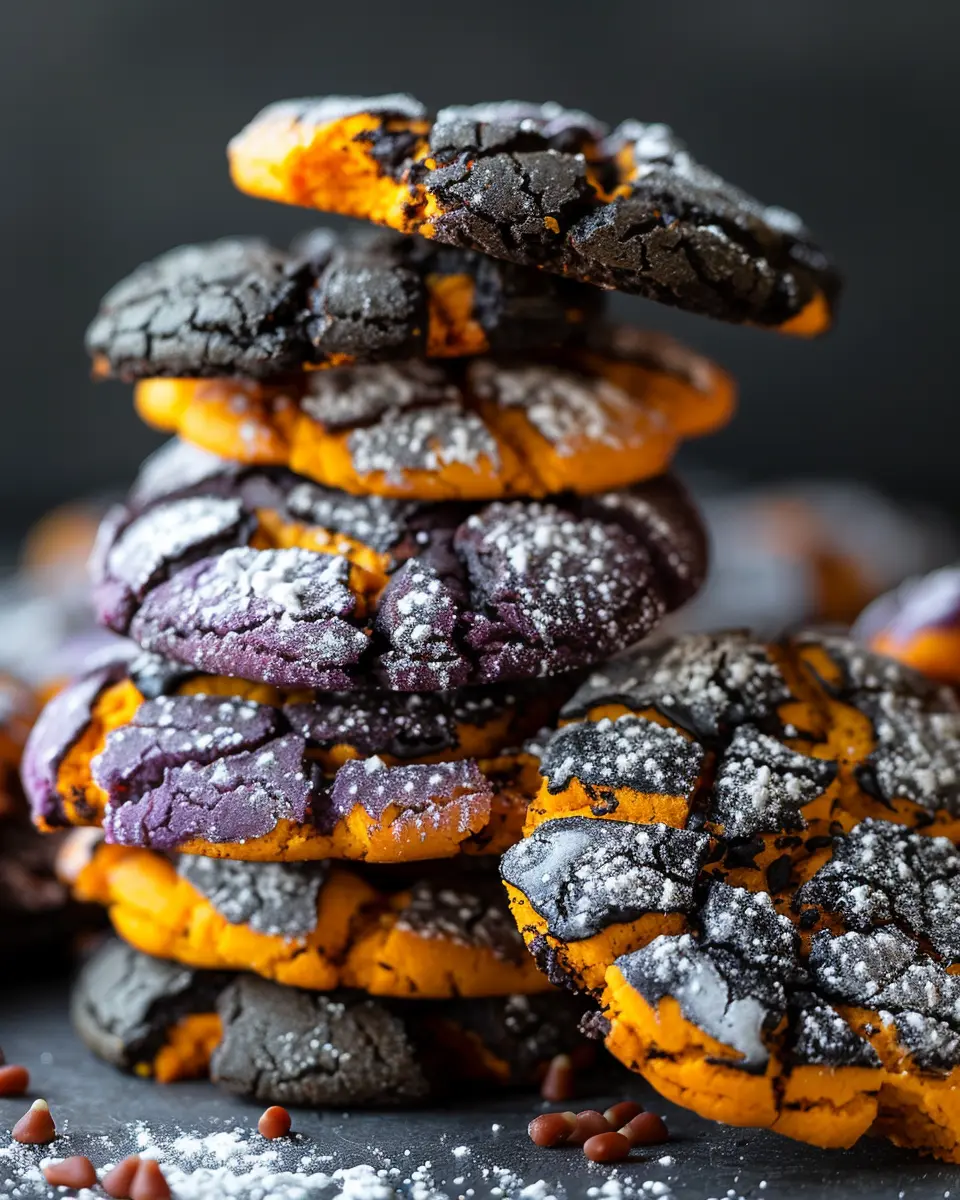
If you’re ready to make your Halloween Crinkle Cookies pop with color, why not create a vibrant batch using food coloring? You can divide your dough into portions and mix in different hues—think orange, black, and purple. Have fun swirling them together for a marbled effect! Simply roll the dough into balls, coat them in powdered sugar, and bake as usual. This festive twist not only enhances the visual appeal but also makes for an exciting presentation at any Halloween gathering. For more tips on food coloring nuances, check out resources from the Food Network.
Adding Spices for a Pumpkin Flavor Twist
Love pumpkin spice? You can easily incorporate that delicious fall flavor into your Halloween Crinkle Cookies! Just add a teaspoon of pumpkin spice or a mix of cinnamon, nutmeg, and ginger to your dough. This addition brings warmth to each bite and will fill your kitchen with a mouthwatering aroma. If you’re feeling adventurous, consider mixing in some mini chocolate chips or crushed nuts for added texture.
Curious about the benefits of spices in baking? Studies show that spices not only enhance flavors but can also have health benefits when consumed in moderation. This makes your Halloween treats not just tasty, but a little more wholesome!
With these creative variations on your Halloween Crinkle Cookies, you’ll be the star of any Halloween event. Are you ready to get baking?
Cooking Tips and Notes for Halloween Crinkle Cookies
Secrets for Achieving the Perfect Crack
Achieving that irresistible crinkle on your Halloween crinkle cookies is an art! To get the perfect crack, ensure your dough is well-chilled before baking. This step helps the cookies hold their shape while developing that delightful texture. Another tip? Don’t skip the powdered sugar coating—it’s not just for show. It creates a subtle crust that emphasizes those lovely cracks as the cookies bake.
Recommended Baking Accessories
Having the right tools can make all the difference in cookie-making. Here are a few essentials:
- Silicone Baking Mats: They provide non-stick surfaces and help maintain even heat distribution.
- Cookie Scoop: For uniform cookie size and perfect baking times, invest in a 1.5-inch scoop.
- Offset Spatula: This handy tool lets you lift your cookies off the baking sheet without damaging them.
If you’re interested in more great baking tips, check out resources like King Arthur Baking for expert advice. Happy baking!
Serving Suggestions for Halloween Crinkle Cookies
Creative Ways to Present Crinkle Cookies
When it comes to Halloween crinkle cookies, presentation can elevate the experience from delightful to downright magical. Consider stacking them in clear treat bags with spooky graphics for a fun Halloween party favor. Or, if you’re feeling crafty, arrange them on a cake stand adorned with fake cobwebs and plastic spiders. This will not only showcase your delicious cookies but also amp up your Halloween decor!
Pairing Suggestions for Enjoyment
Enjoying your Halloween crinkle cookies is all about pairing them with the right accompaniments. These cookies pair beautifully with:
- Pumpkin spice lattes: Enhance those fall flavors.
- Apple cider: A classic that complements the sweetness perfectly. Check out some delicious recipes here!
- Hot chocolate: For a cozy evening treat.
Consider serving your cookies alongside some chic autumn-themed tableware. A simple arrangement can create a festive atmosphere that encourages sharing and enjoyment among friends and family. What’s better than delicious treats and good company, right?
Time Breakdown for Halloween Crinkle Cookies
When planning to treat yourself and your loved ones to some delightful Halloween crinkle cookies, knowing the time commitment can make a big difference. Here’s a friendly breakdown to guide you.
Preparation Time
You’ll need about 15 minutes to gather your ingredients, mix the batter, and get everything ready for the chilling phase. This part always reminds me of the excitement in the kitchen, especially with the scent of vanilla and chocolate wafting through the air.
Chilling Time
Next up is the chilling time, which takes around 30 minutes. This is crucial for helping the dough firm up, ensuring those lovely crinkles form when they hit the oven. It’s a perfect opportunity to get in the Halloween spirit by playing some festive music or planning your costume!
Baking Time
Finally, the baking itself takes just 10-12 minutes. Keep a close eye on your cookies, as they will be ready when they puff up and those popular cracks appear. The anticipation can be half the fun!
Total Time
In total, you’re looking at about 55-57 minutes from start to finish. A small time investment for such delicious rewards! For tips on how to elevate your baking experience, check out this article from Serious Eats on cookie baking techniques. Happy baking!
Nutritional Facts for Halloween Crinkle Cookies
When whipping up a batch of Halloween crinkle cookies, you might be curious about their nutritional profile. These festive delights can be enjoyed in moderation. Here’s a closer look:
Calories
A single Halloween crinkle cookie packs approximately 120 calories. It’s a satisfying treat that won’t derail your day, especially when shared with friends.
Carbohydrates
Each cookie contains around 18 grams of carbohydrates. This makes them a sweet indulgence, perfect for your Halloween festivities.
Sugars
With about 9 grams of sugar per cookie, they strike a delicious balance between sweetness and enjoyment. Just remember, it’s all about moderation! For a deeper dive into sugar impacts on health, check out studies from the American Heart Association.
Baking and enjoying these cookies can be a fun social activity, allowing you to create great memories while savoring each treat!
FAQs about Halloween Crinkle Cookies
How do you keep crinkle cookies soft?
To ensure your Halloween crinkle cookies remain delightfully soft, consider a few handy tips:
- Don’t Overbake: Keep an eye on your cookies! They should be set around the edges but slightly underbaked in the center. This way, they’ll continue cooking a bit after you take them out.
- Use Brown Sugar: A mix of brown and granulated sugar can add moisture and chewiness to the cookies.
- Storage Matters: Once they’re cool, store them in an airtight container with a slice of bread. The bread helps keep the cookies soft by adding moisture.
Can you use other colors of food coloring?
Absolutely! While traditional Halloween crinkle cookies might lean towards orange and black, don’t hesitate to explore a spectrum of colors that suit the festive spirit. Think purple, green, or even a festive mix! You can easily add a couple of drops of gel food coloring to your dough to get vibrant results. A great resource for experimenting with colors can be found here.
What’s the best way to store leftovers?
To keep your leftover Halloween crinkle cookies fresh, just follow these steps:
- Airtight Container: Store them in an airtight container at room temperature. They should last about 4-5 days.
- Freezing Option: If you want them longer-lasting, pop them into a freezer-safe bag. They can stay good for up to three months! Just be sure to separate layers with parchment paper to prevent sticking.
Baking can be a delightful adventure, especially around Halloween! If you ever have more questions or need inspiration, consider diving into blogs like Bigger Bolder Baking for additional tips and tricks. Happy baking!
Conclusion on Halloween Crinkle Cookies
Final thoughts on making and enjoying Halloween Crinkle Cookies
As you wrap up your Halloween baking adventure, remember that Halloween Crinkle Cookies are not just treats; they are delightful memories waiting to happen. The rich, chocolatey flavor combined with the fun crinkle effect makes them eye-catching and utterly delicious. Don’t hesitate to get creative with decorations or flavors—add some vibrant sprinkles or even a hint of pumpkin spice for a personal touch.
Sharing these cookies with friends or family can spark joy and conversation, making them the perfect addition to any Halloween gathering. For more inspiration, check out Food Network for additional festive dessert ideas. Enjoy your spooky celebrations!
PrintHalloween Crinkle Cookies: Easy, Spooky Treats to Impress Everyone
These Halloween Crinkle Cookies are the perfect treats for the spooky season, delivering festive fun and delicious flavors.
- Prep Time: 30 minutes
- Cook Time: 12 minutes
- Total Time: 42 minutes
- Yield: 24 cookies
- Category: Desserts
- Method: Baking
- Cuisine: American
- Diet: Vegetarian
Ingredients
- 1 cup all-purpose flour
- 1/2 cup cocoa powder
- 1 cup granulated sugar
- 2 large eggs
- 1/4 cup vegetable oil
- 1 teaspoon vanilla extract
- 1/2 teaspoon baking powder
- 1/4 teaspoon salt
- 1/2 cup powdered sugar for dusting
Instructions
- Preheat the oven to 350°F (175°C).
- In a mixing bowl, combine flour, cocoa powder, baking powder, and salt.
- In another bowl, whisk the eggs, sugar, vegetable oil, and vanilla until smooth.
- Add the dry ingredients to the wet ingredients and mix until just combined.
- Chill the dough in the refrigerator for 30 minutes.
- Shape the dough into balls and roll them in powdered sugar.
- Place on a baking sheet lined with parchment paper.
- Bake for 10-12 minutes or until edges are set.
- Let cool before serving.
Notes
- For a more festive look, add colored sprinkles or Halloween-themed decorations.
Nutrition
- Serving Size: 1 cookie
- Calories: 150
- Sugar: 12g
- Sodium: 50mg
- Fat: 7g
- Saturated Fat: 1g
- Unsaturated Fat: 6g
- Trans Fat: 0g
- Carbohydrates: 20g
- Fiber: 1g
- Protein: 2g
- Cholesterol: 30mg